In light of the current global pandemic, LIV Design Studio is doing our part by allowing our design team to work from home. We are extremely fortunate that we work in an industry that allows for this flexibility, but working from home poses its own set of challenges. We love who we work with – we are a home away from home, a family of friends. Working in an office with regular social interactions is a huge part of our culture and how our (work) family bonds are formed. It fosters open communication and strong collaboration. Now that we are all working from home, being social while social distancing is extremely important, now more than ever.
While moving our social activities to virtual platforms – Sweet Snack Surprise Day or Video Call Happy Hour, anyone? – we also transitioned our professional interactions to adhere to social distancing. This involved virtual product presentations from vendors and partners, having samples delivered directly to designers’ homes, and regular project updates during company-wide Zoom calls.
Along with the many ways we are staying digitally connected, our team is also taking time for solo activities to keep busy and engaged. Our Office Coordinator, Stephanie, connected with our designers to find out more about their projects, and we decided to showcase some of them in a “LIV at Home” series. This series will give you a glimpse behind the scenes of the creative minds that make up our design team, and how they’ve been filling their days with at-home projects.
– From the Desk of David, The HR Guy
Our Designers
Meet three of our highly-skilled team of designers: Tiffany, Tomoko, and Yuan Sheng, known to us as Y. While our whole crew is still hard at work on our various projects, the last six months of working from home have opened up more time for these designers to work on projects of their own. Tiffany, who loves tech, used a 3D printer to create a custom plant pot. Tomoko put her DIY skills to use and made an assortment of handmade home accessories. Y has been focused on a full home renovation, honing new woodworking skills.
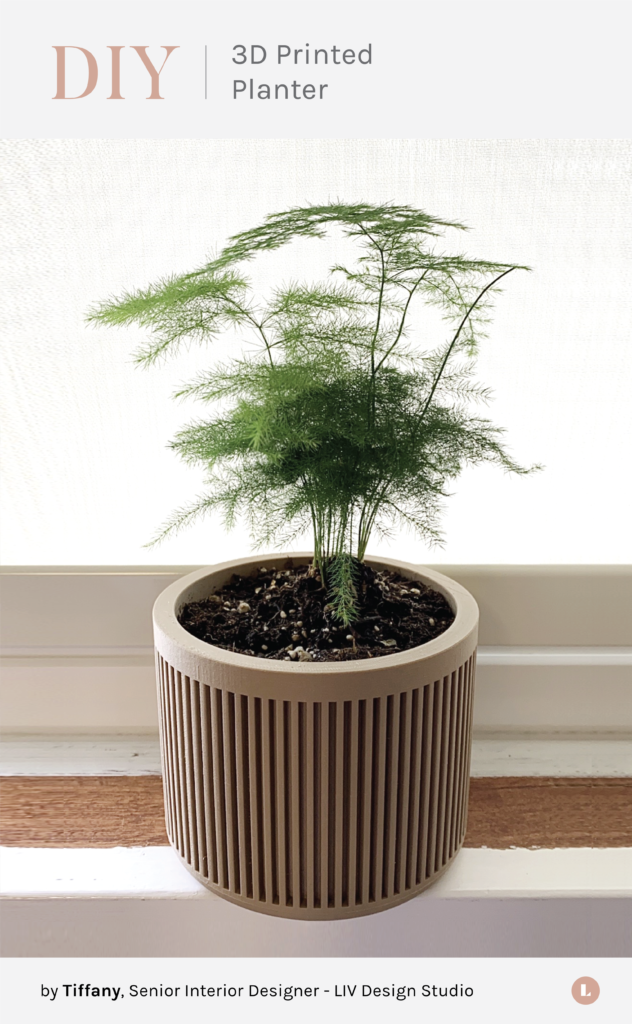
Tiffany – Senior Interior Designer
As a Senior Designer and founding member of LIV, Tiffany has extensive experience in all of our past and current projects. Her design tastes are minimalistic, elegant, and refined, with just a touch of whimsy. Tiffany is always looking for ways to push her projects into the future using new tech, and her 3D printed plant pots are the perfect embodiment of traditional style meeting modern technology.
3D Printed Pots
When quarantine began, Tiffany, who normally kept to the busy schedule of a lead designer, found that she wanted to fill her time with something productive. Like many of us, Tiffany chose to dive into the cheerful world of houseplants. Naturally therapeutic, houseplants improve air quality, reduce stress and improve concentration.
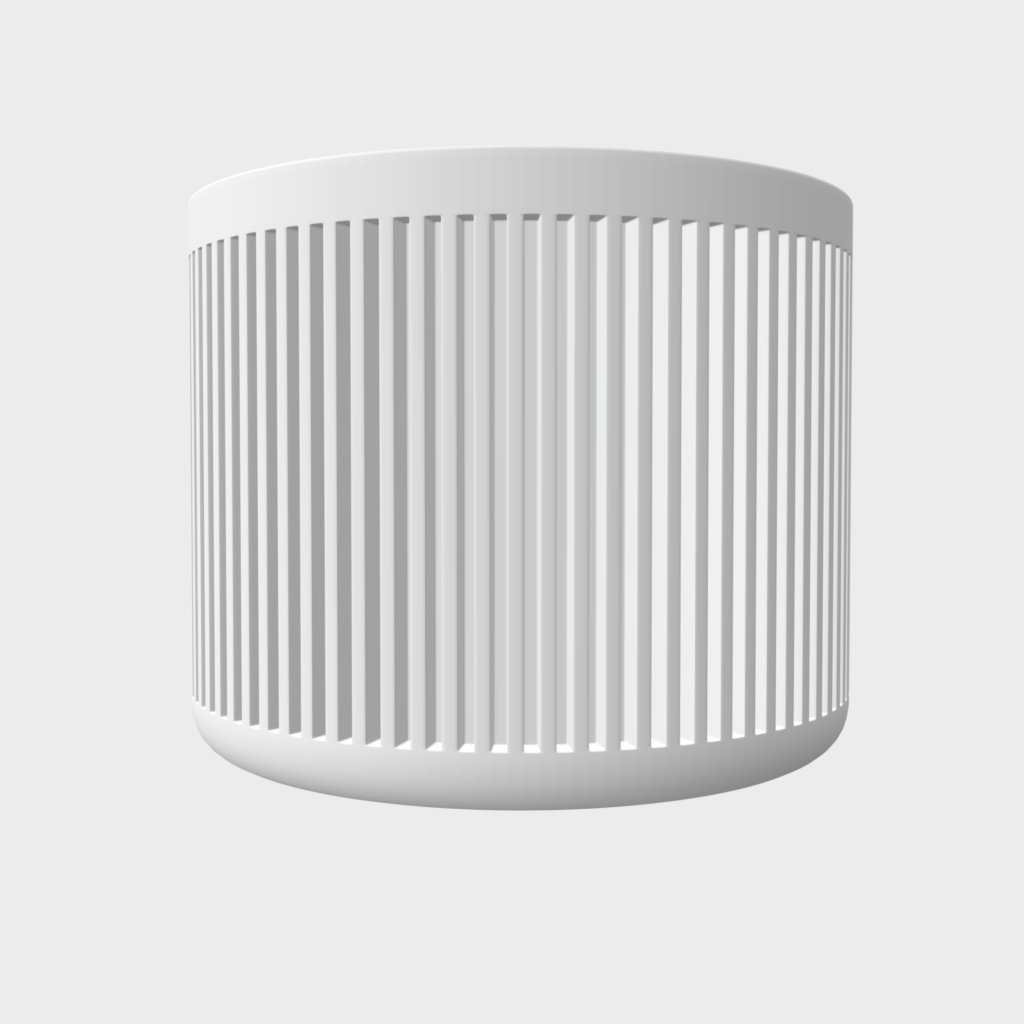
Her recent obsession with asparagus ferns led to an excess of lively and abundant foliage, but she had trouble finding a plant pot that appealed to her sense of design. So, she set out to make her own with a 3D printer. Drawing from traditional Japanese pottery styles, she created the pattern with the help of one of our in-house CG artists, Kennedy. Once visualized, all she had to do was place the asparagus ferns in their beautiful, new homes – et VOILÀ!
Tomoko – Interior Designer
One of our newest designers, Tomoko, joined the LIV family in February 2020 and has been involved with three LIV design projects to date. Her work on a current project led her to design a bathtub using “hinoki” – a fragrant Japanese wood. As someone who is inspired by Japanese design and loves raw materials, this was her favourite project thus far.
She has applied a similar aesthetic and sensibility to her clever home DIY projects, creating a coffee table, a jute floor runner, and a macrame wall mirror. Each piece leverages natural elements imbuing her living space with modern charm.
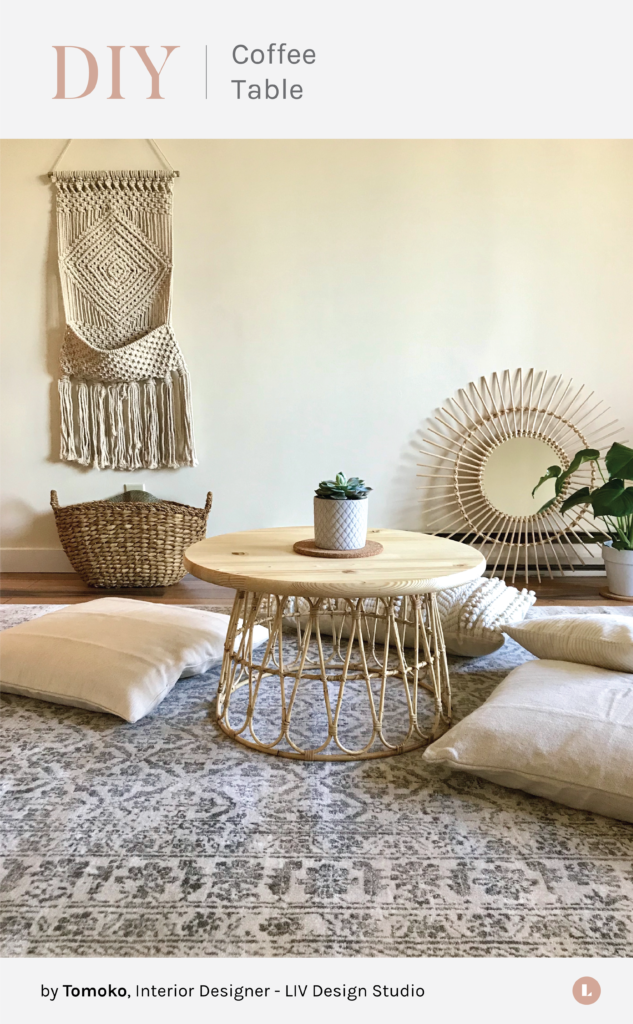
Coffee Table
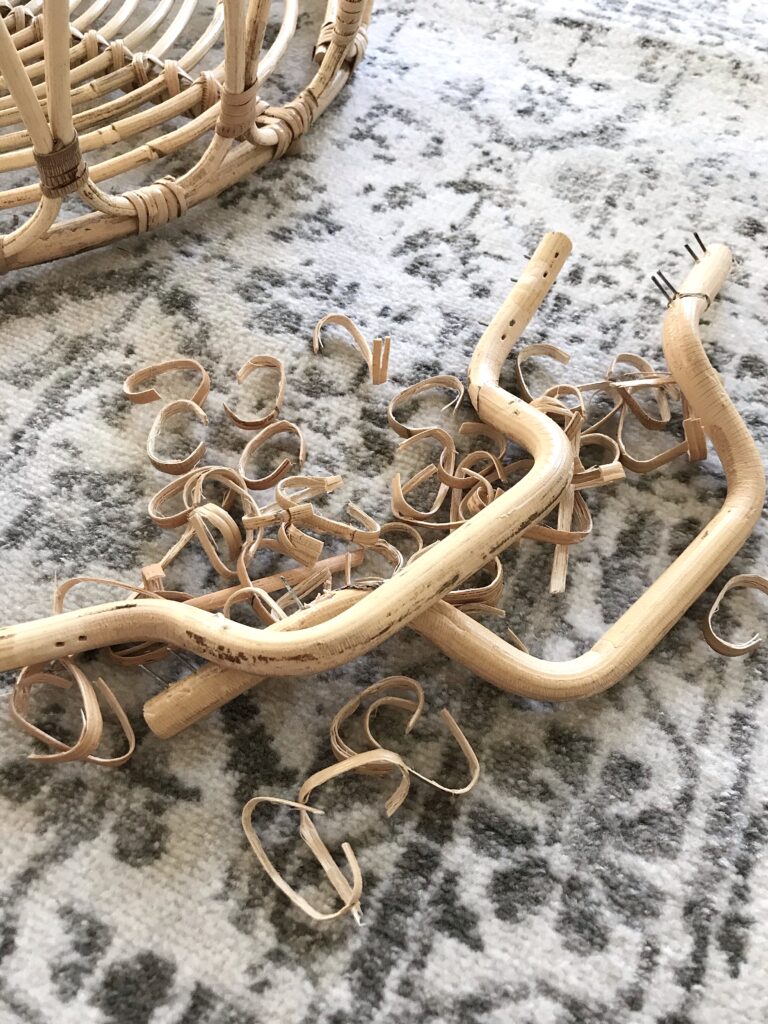
Tomoko, a designer of great ingenuity deconstructed existing products and realized her vision for a new coffee table. Her DIY coffee table accents her living room decor and serves as an anchor for the compact space.
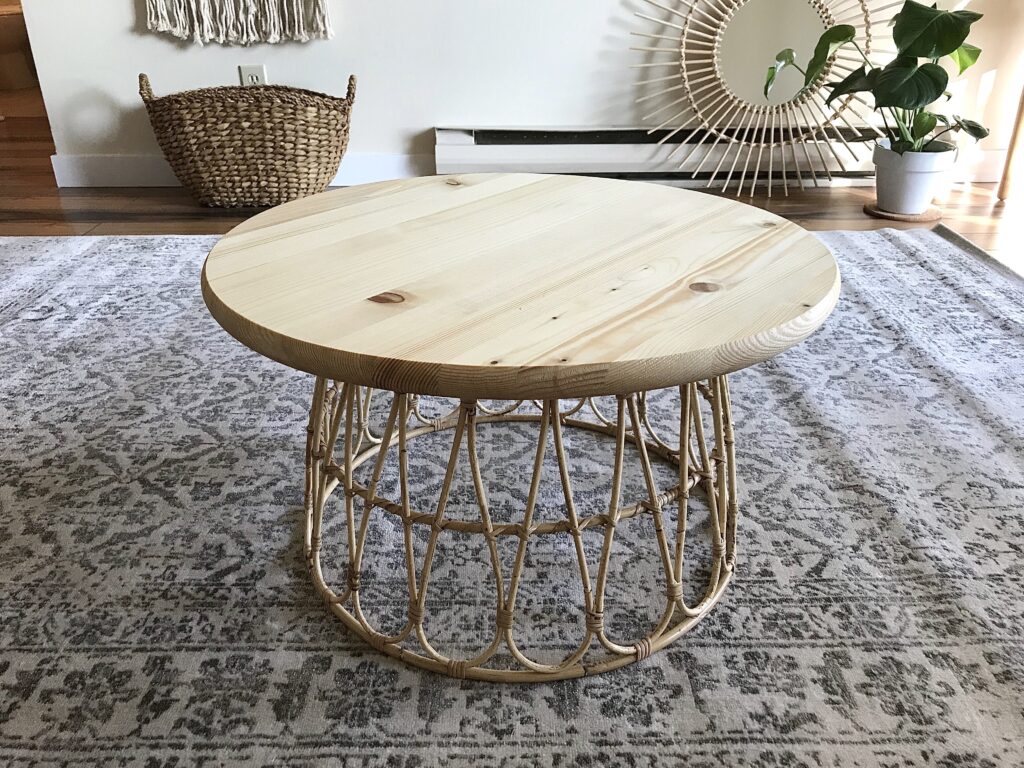
To begin, she simply removed the handles from a Rattan Basket, to serve as the table’s base. Then she set to work on the tabletop – a 24″ round piece of spruce wood. She applied the first coat of Revitalizing Mineral Oil to the wood surface, allowing it to dry overnight before applying a second coat to achieve the polished look she was after. Then she simply placed the wooden top on the rattan base, adding a practical pop of contemporary boho flavour to her living space.
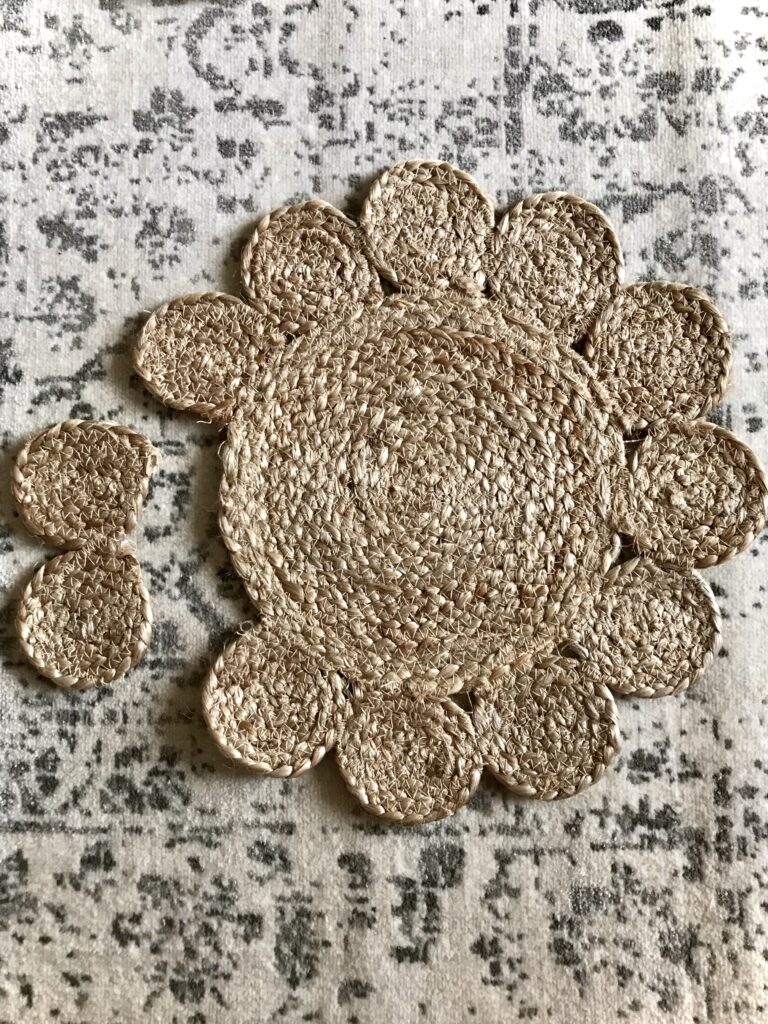
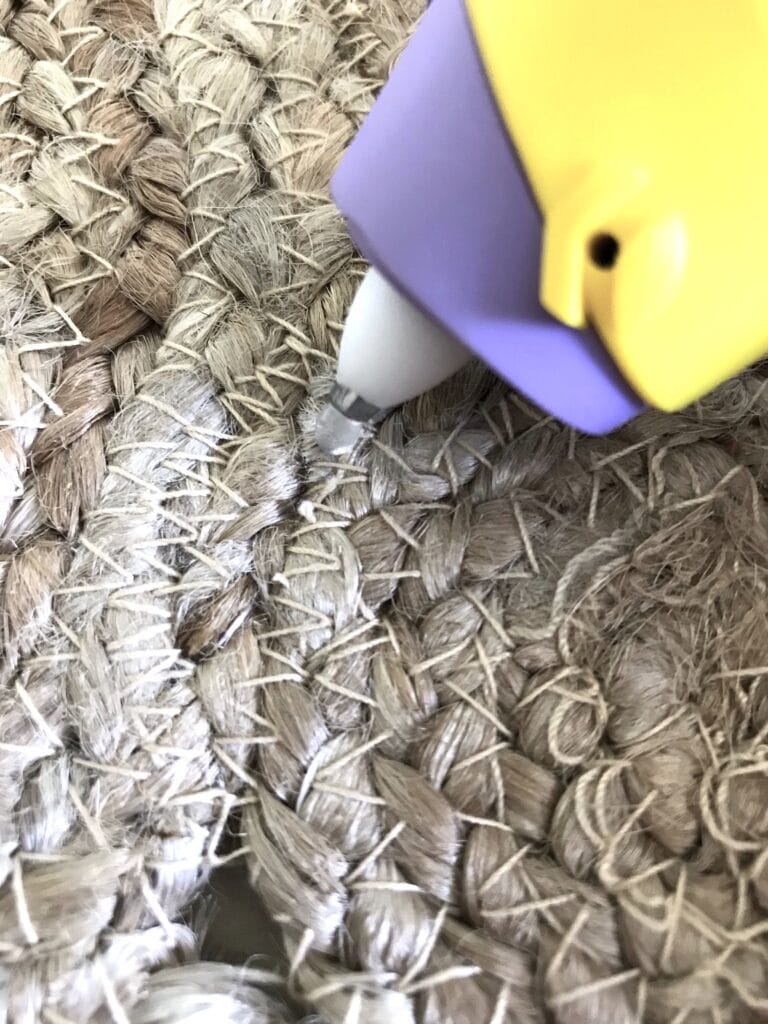
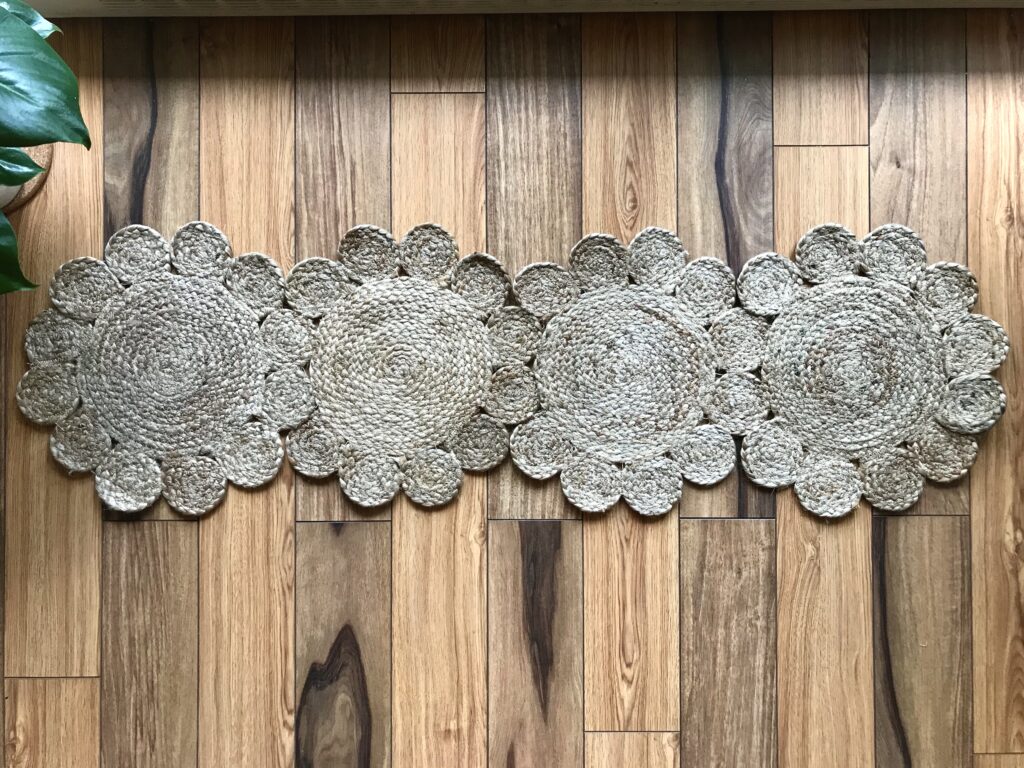
Floor Runner
Complimenting the rusticity of her new coffee table, Tomoko deconstructed four jute placemats. She hand sewed the placemats together and then used a standard hot glue gun to add grips on the back. Her efforts resulted in a whimsical runner, perfect for any small space.
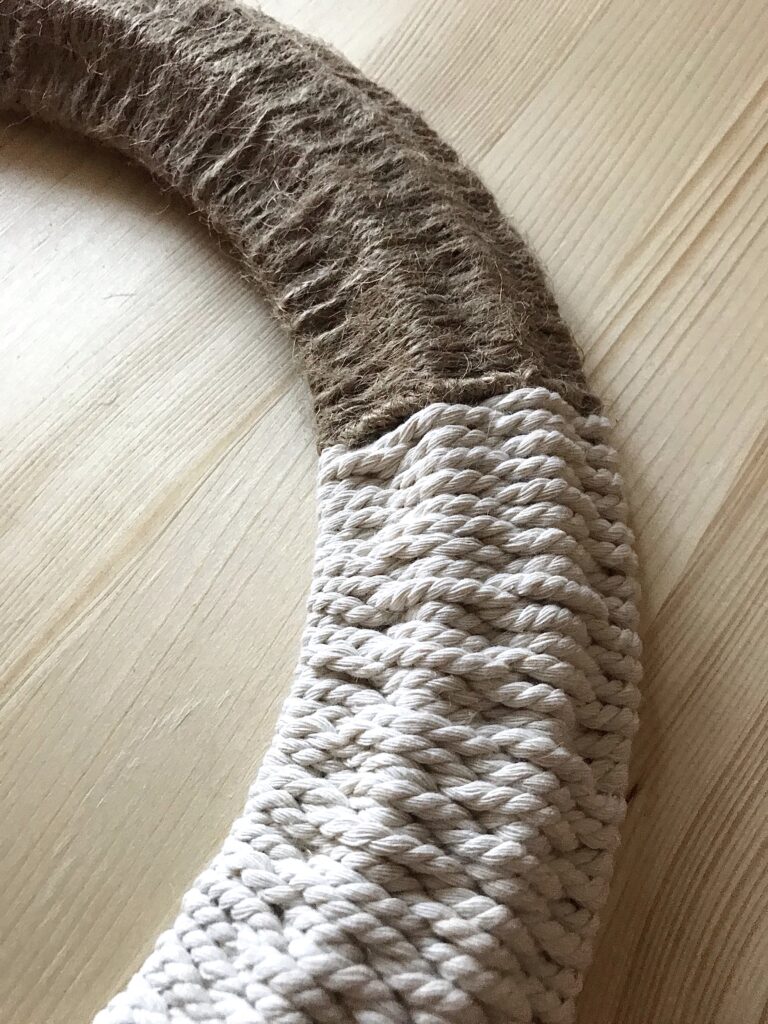
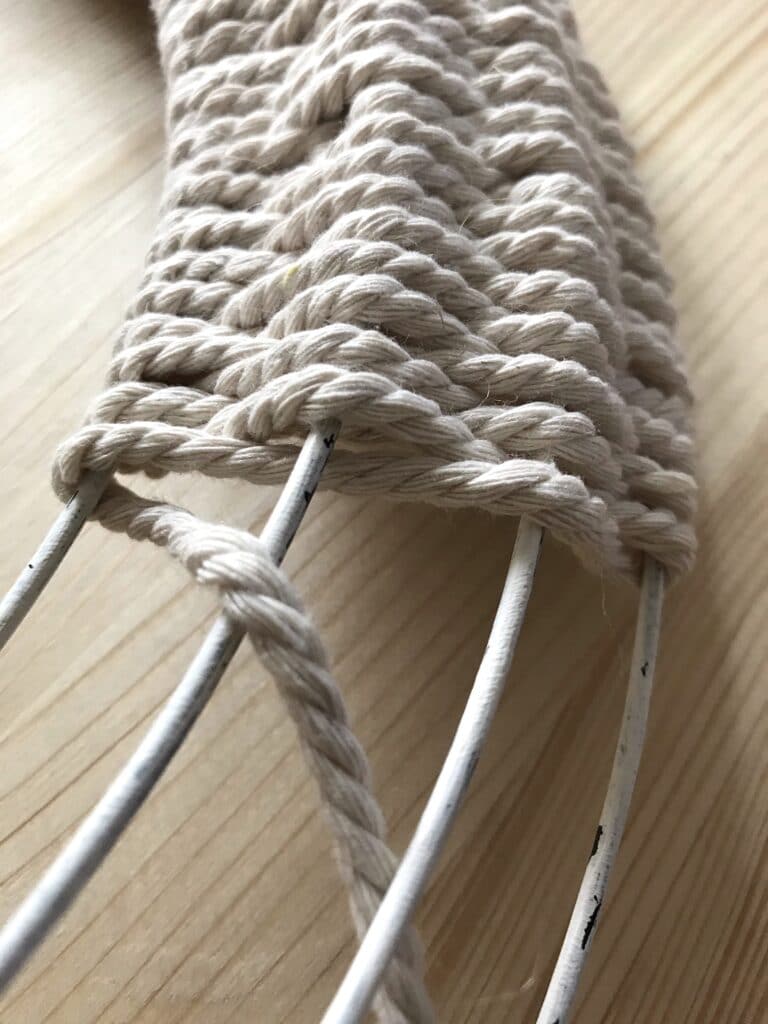
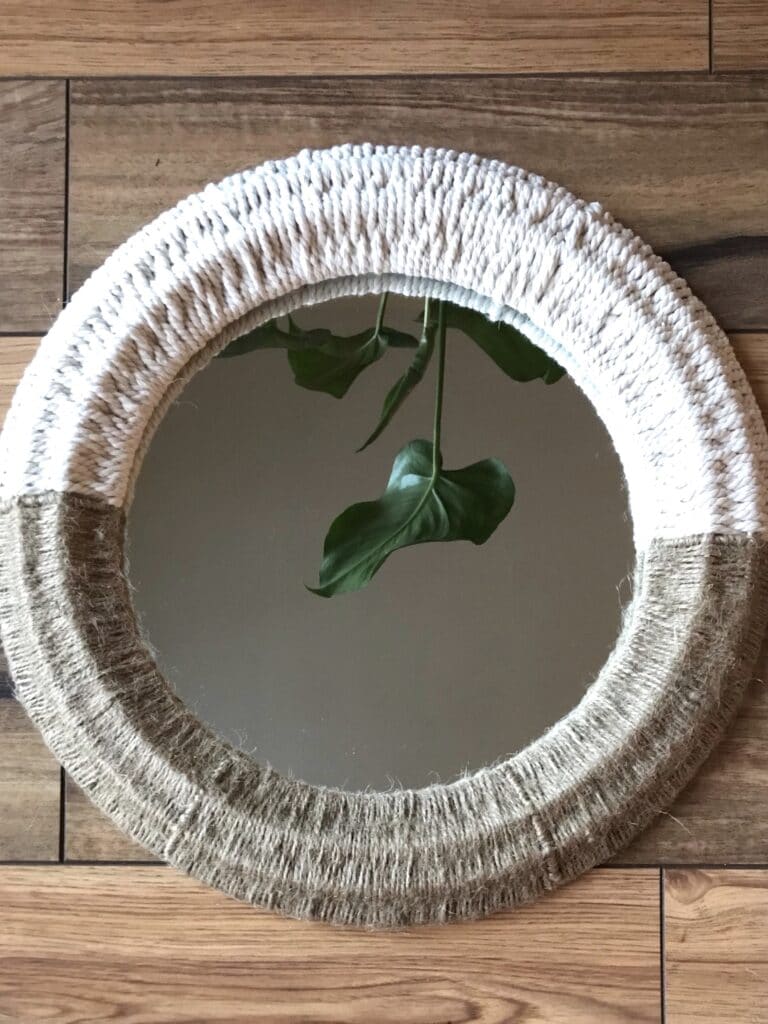
Macrame Wall Mirror
To finish off her living space, Tomoko set out to create a decorative wall mirror. It would eventually be mounted against a light beige wall so it was important for her to use complementary, natural materials.
For the frame, she used a wire wreath base which she painted white. Then she carefully wove natural jute cord, followed by a macramé cord, between the rings of the wreath frame, intermittently securing the cords in places with hot glue. To finish, she affixed a 10″ Circular Mirror at the center of the ring completing this beautiful and original decor element in only a few hours.
Y – Interior Designer
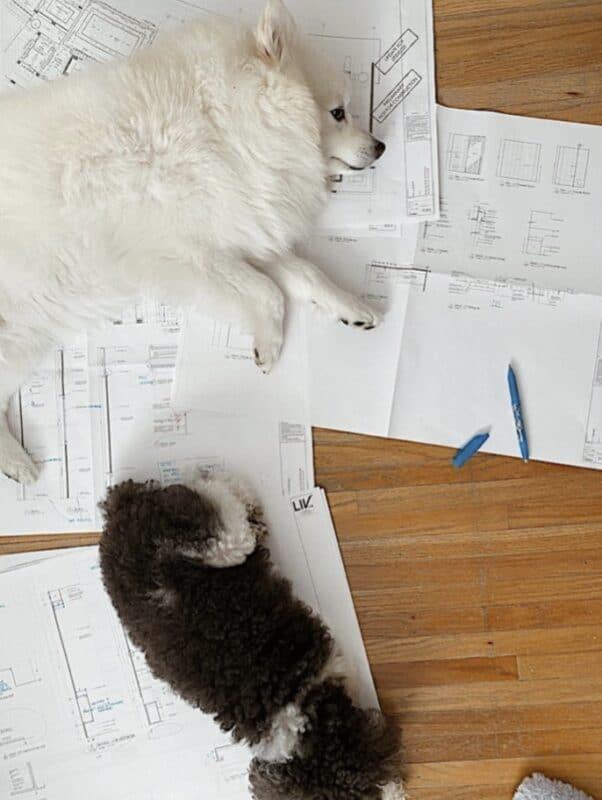
Y has been with LIV for three and a half years. An Interior Designer with a love for architectural photography, Y has worked on a total of six completed projects with LIV. When designing, he gravitates toward hospitality, multi-residential, and commercial spaces. His personal style reads bold – employing strong contrasts and deep coloured hues. Y’s home project was a larger, three-part endeavour. We interviewed him for a more in-depth look at the process.
Home Renovations
What inspired you to do these projects?
My wife and I started home renovations a few months ago. Our contractor completed most of the work. Since we had some extra time on our hands, we decided to make a few extra improvements ourselves: the paint colour in the lower level, the hood fan in the kitchen, and the fireplace feature wall in the living room.
Sounds like a huge undertaking! Where did you start?
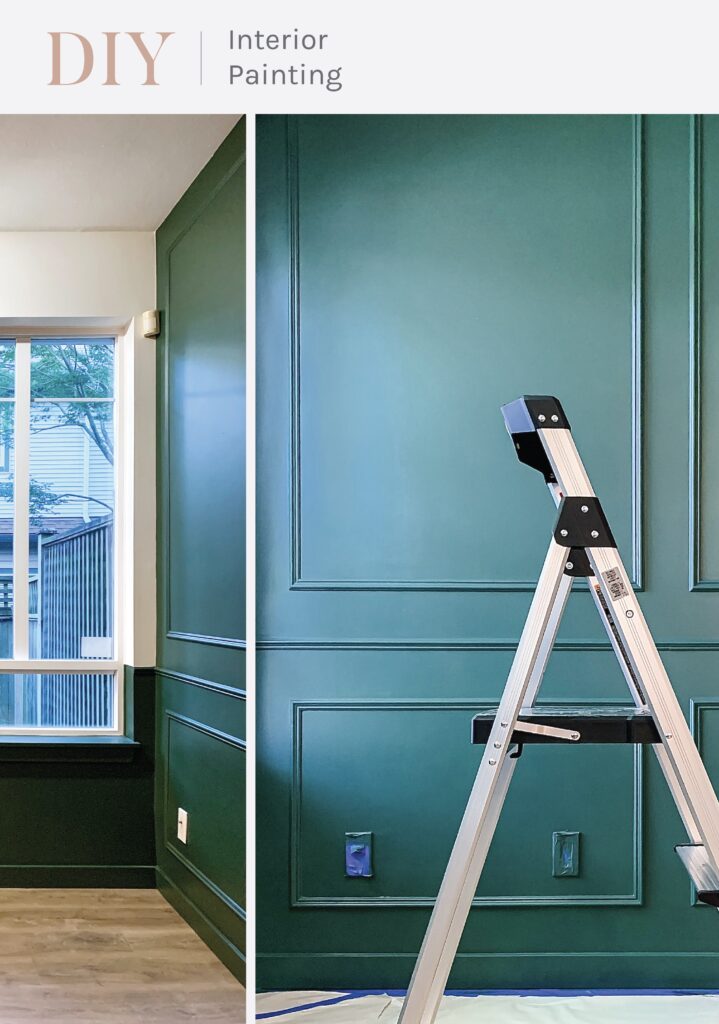
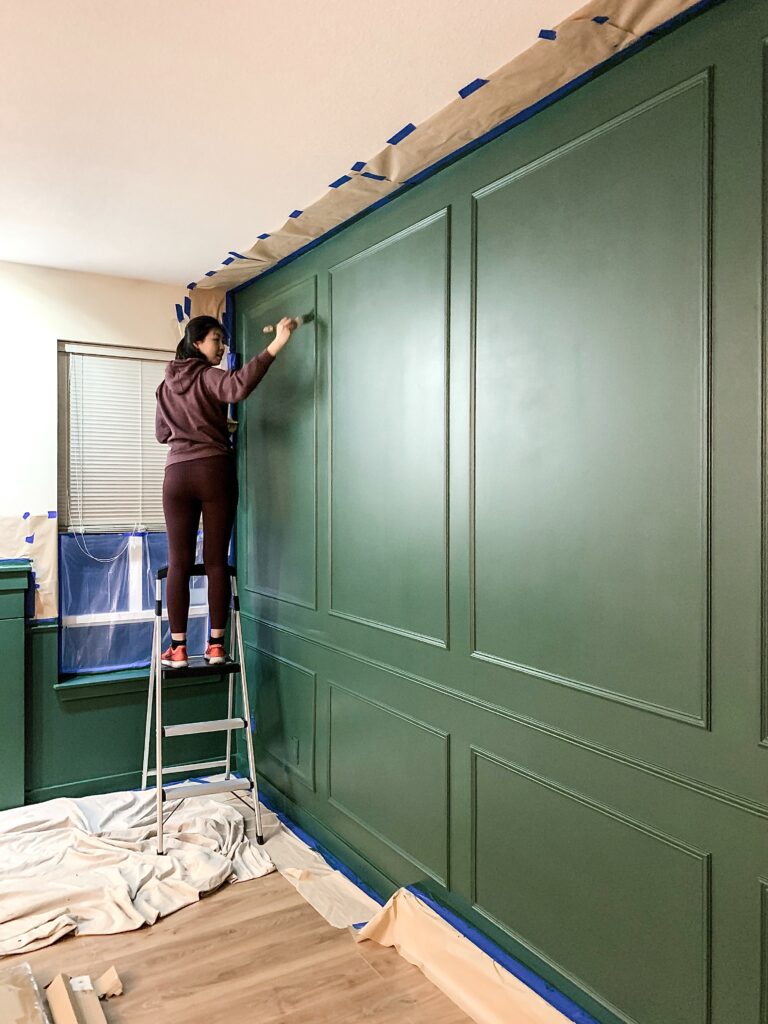
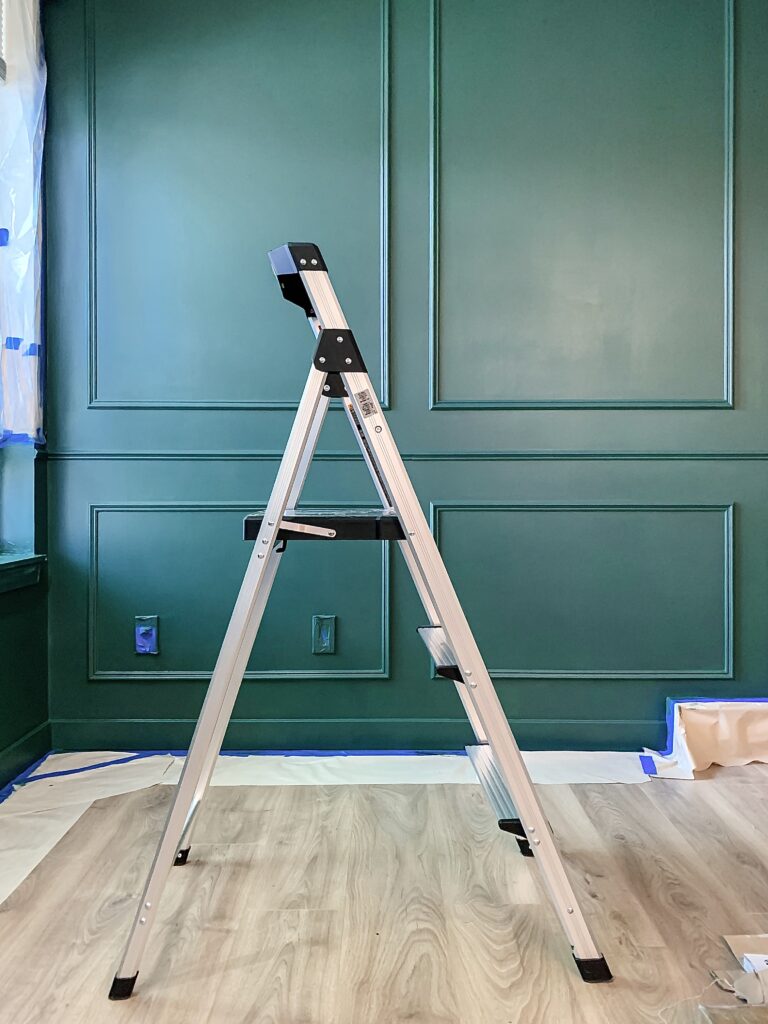
We started with painting, which covered the kitchen, living room, and hallway. We had picked a deep green to create a calm and refreshing atmosphere. Unfortunately, the original colour we chose was a bit too saturated, so we decided to repaint it ourselves. We both have a background in fine arts, but we soon found out painting a wall and painting on canvas are two completely different things.
Walk us through the project, step-by-step. How long did it take?
The first and longest step was masking. We ended up spending more time on masking than painting. We did three coats of latex paint on the wall using rollers and brushes, and under the masking tape, there were a few paint leaks that needed to be fixed after. The painting process took us 4 days to finish, but I would say we spent more time on preparation than actually painting the wall.
It looks great! Which project did you take on next?
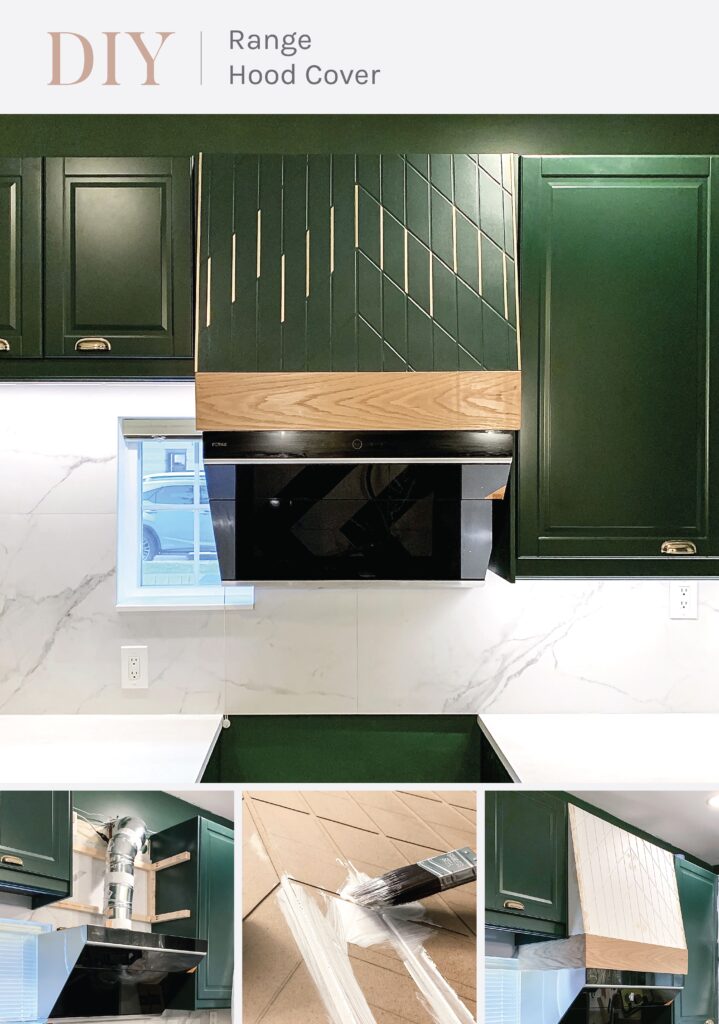
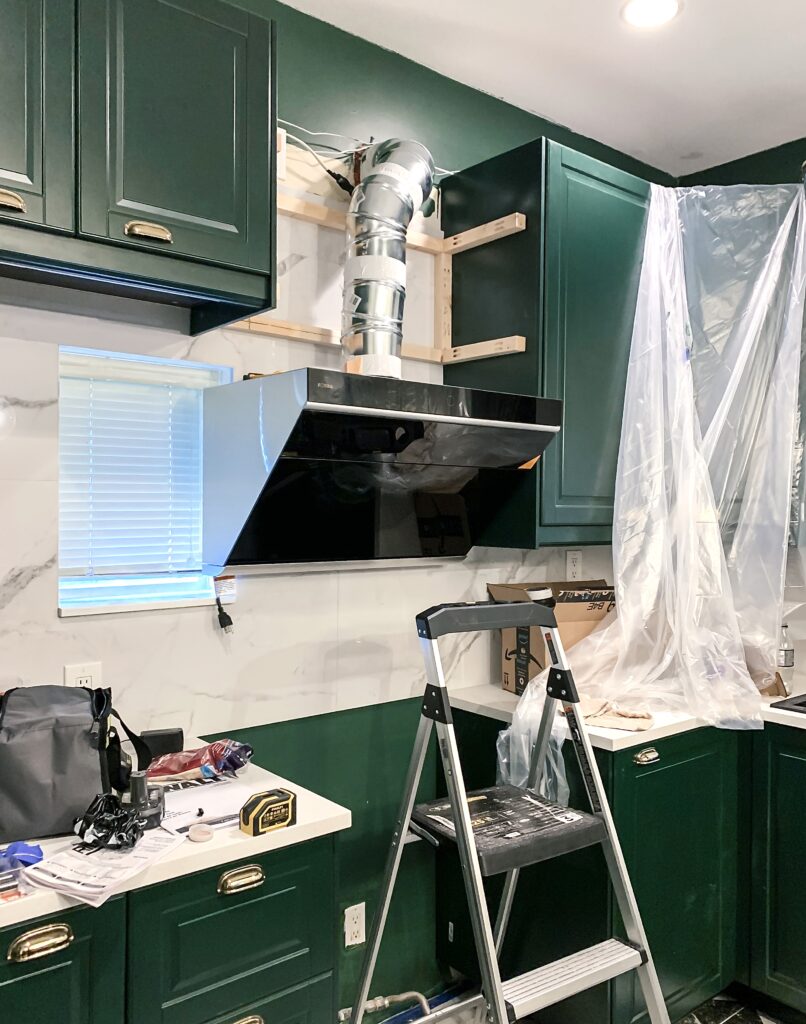
Next, we started the hood fan cover. This was more of a challenge for me because even though I’m an interior designer, I had never created millwork before. We had purchased an IKEA kitchen and had it installed. However, the duct was not in the center slot, so I decided to make a hood fan cover to hide the off-center ductwork
Where did you start?
The idea was to use a 6″ solid oak wood board surrounding the top of the hood fan to fill the gap between the actual cover, match the height of the existing upper cabinet, and fasten a wood structure on the back wall to support the cover, made with ¼ inch hardboard.
Walk us through the project, step-by-step.
Since I was making it myself, I decided to try out some new ideas. I made an angled cover instead of just straight and flat to the hood fan, and added some decorative features called reveals on the cover.
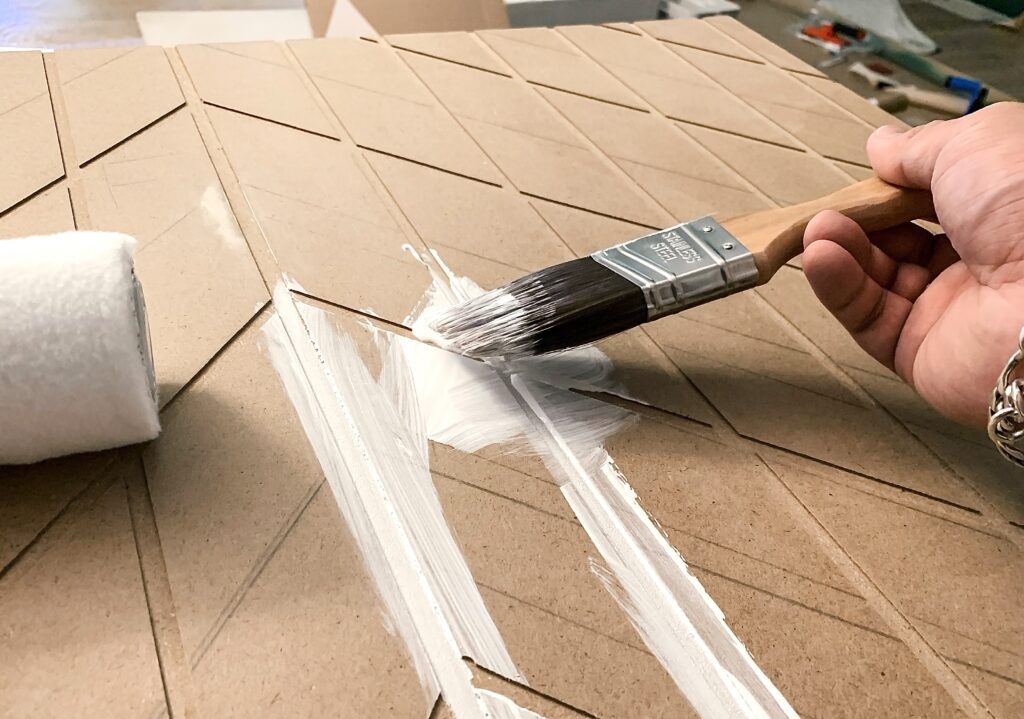
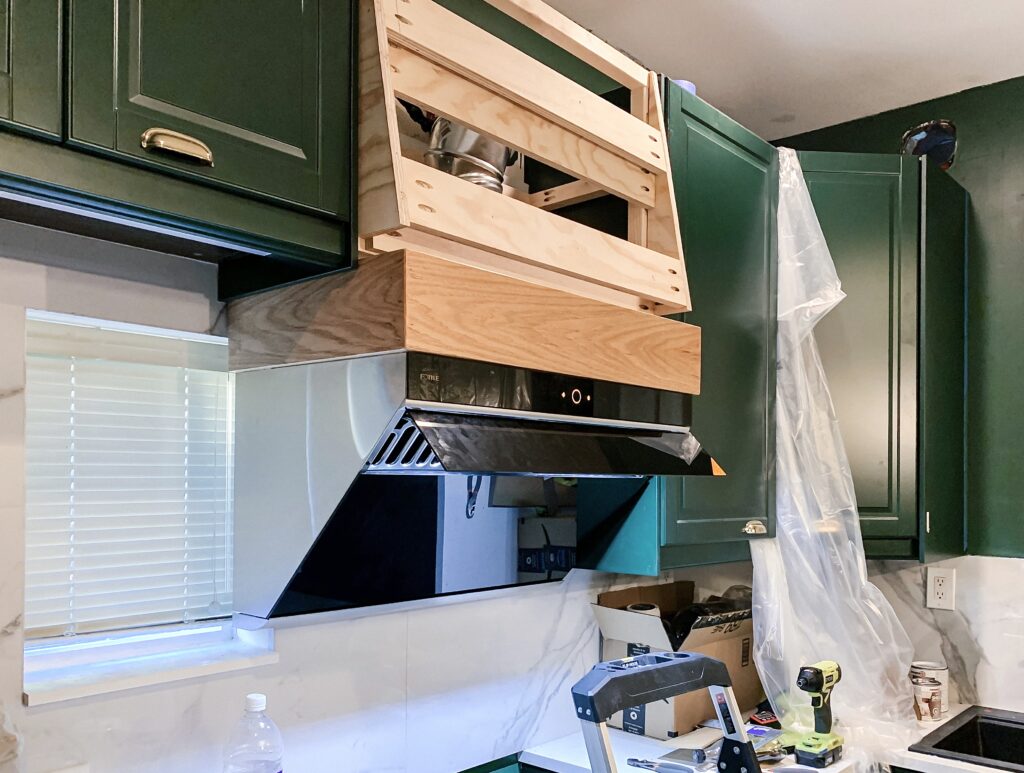
After I cut all those reveals by using a trim router, I assembled all the pieces to the wood structure and painted a primer coat before I painted the cover.
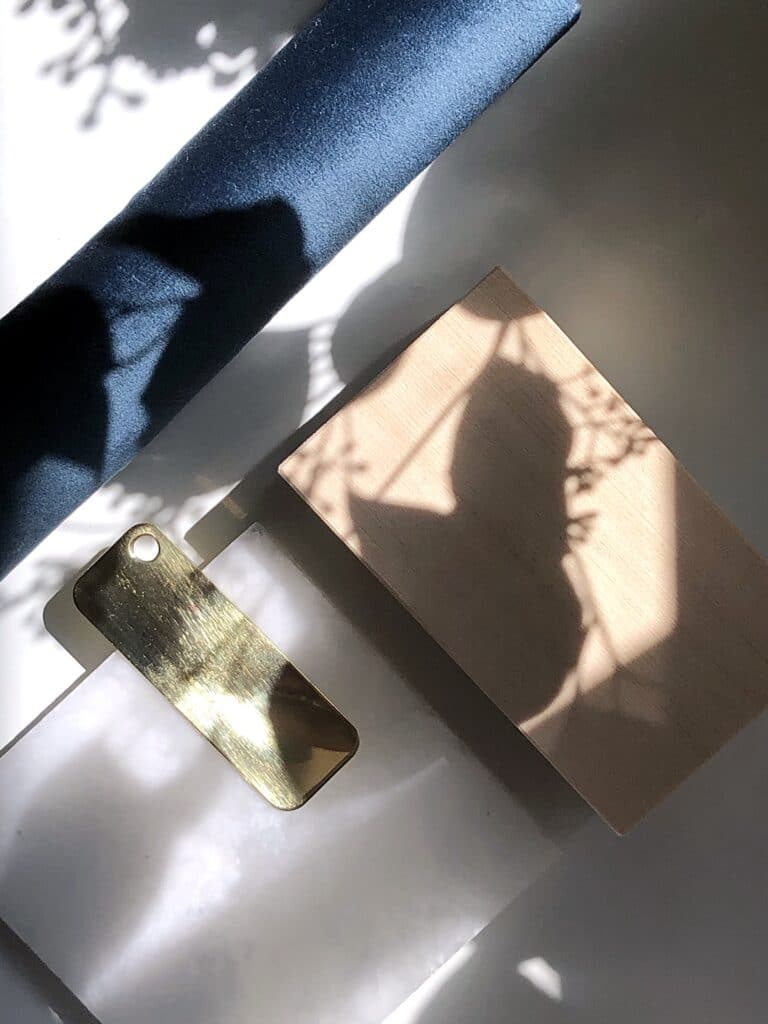
I started painting by using brushes and rollers but later decided to use a paint sprayer for a smoother finish and for a seamless match to the cabinet finishes. After the paint was dry, I sprayed lacquer as a protective coat at the end. Finally, I added some brass strips to cover the jointing edges and as a decorative finish.
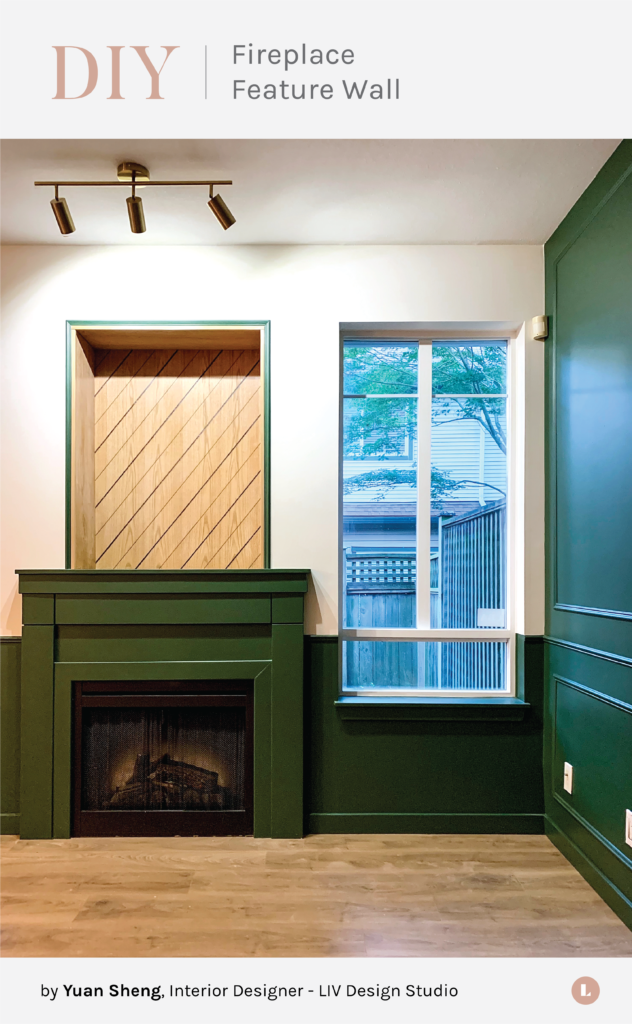
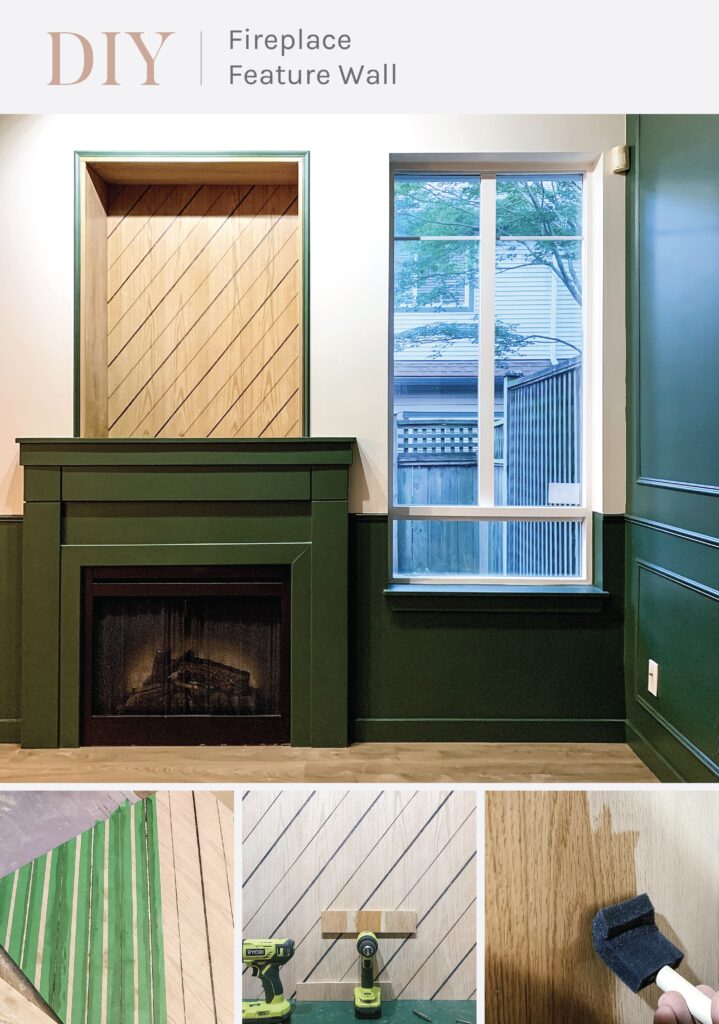
And then you moved on to the fireplace feature?
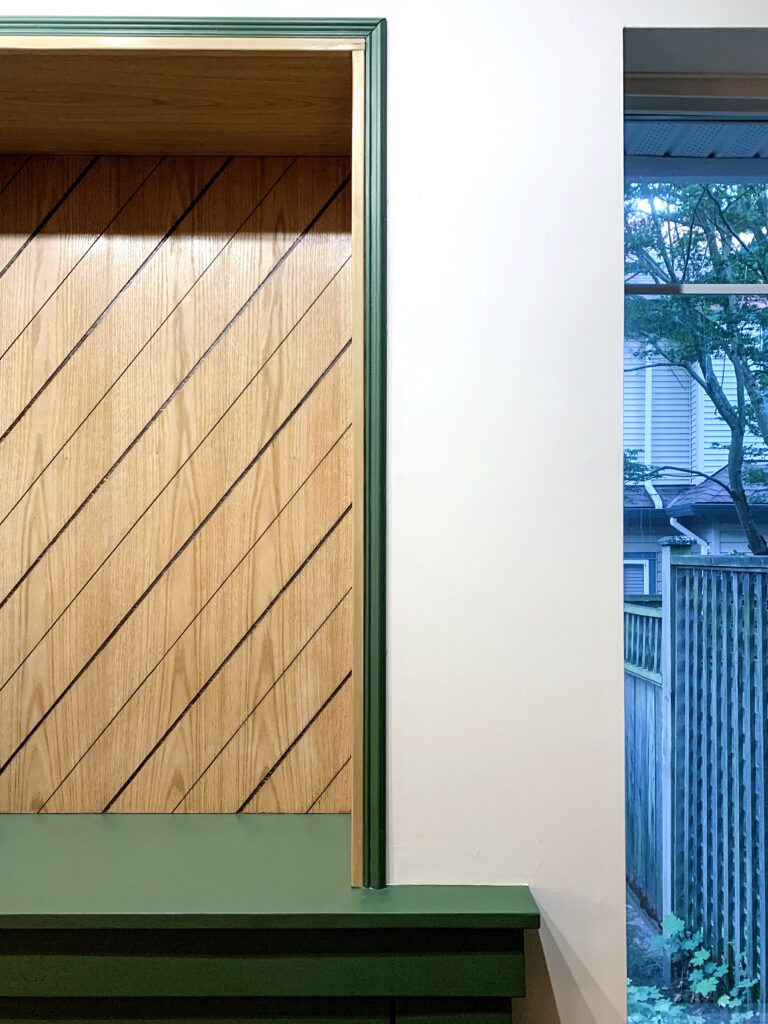
Yes. After painting the fireplace, I thought it could use some more interesting detail, so I decided to spruce it up with a wood feature. This one was easier as I didn’t need to make a structural support as I did for the hood fan cover.
Walk us through the project, step-by-step.
Again, I first used a trim router to create some decorative reveals on a ½ inch oak plywood panel and staining the reveals darker to create contrast from the surface.
I placed the plywood panel inside of the niche first, using construction adhesive and a nail gun to secure it. Then I cut the sounding panels using a table and circular saw and fastened it.
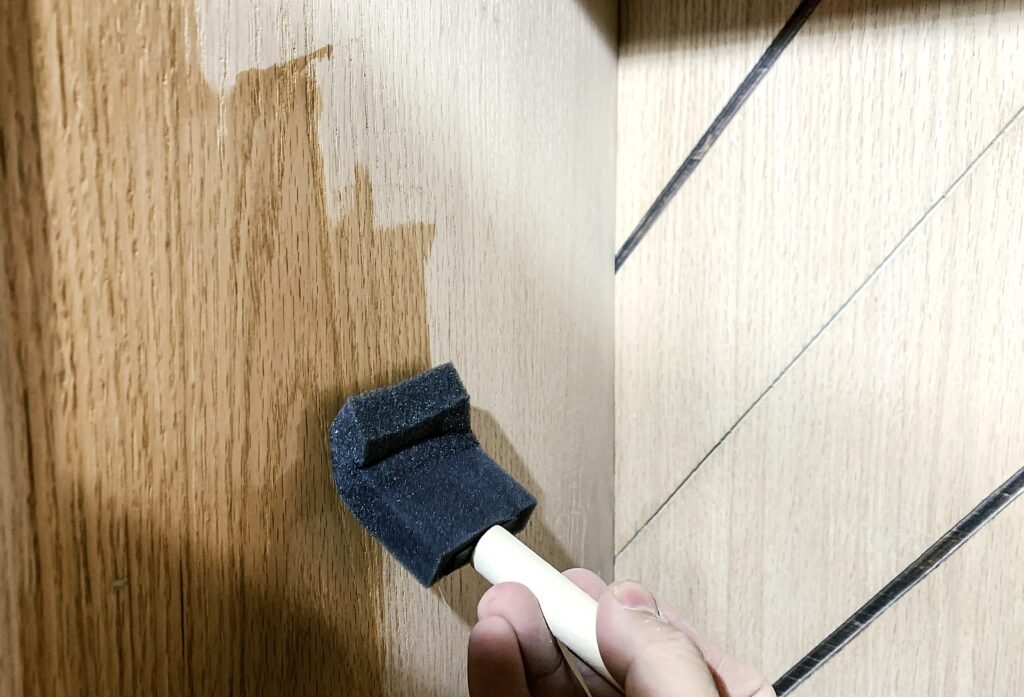
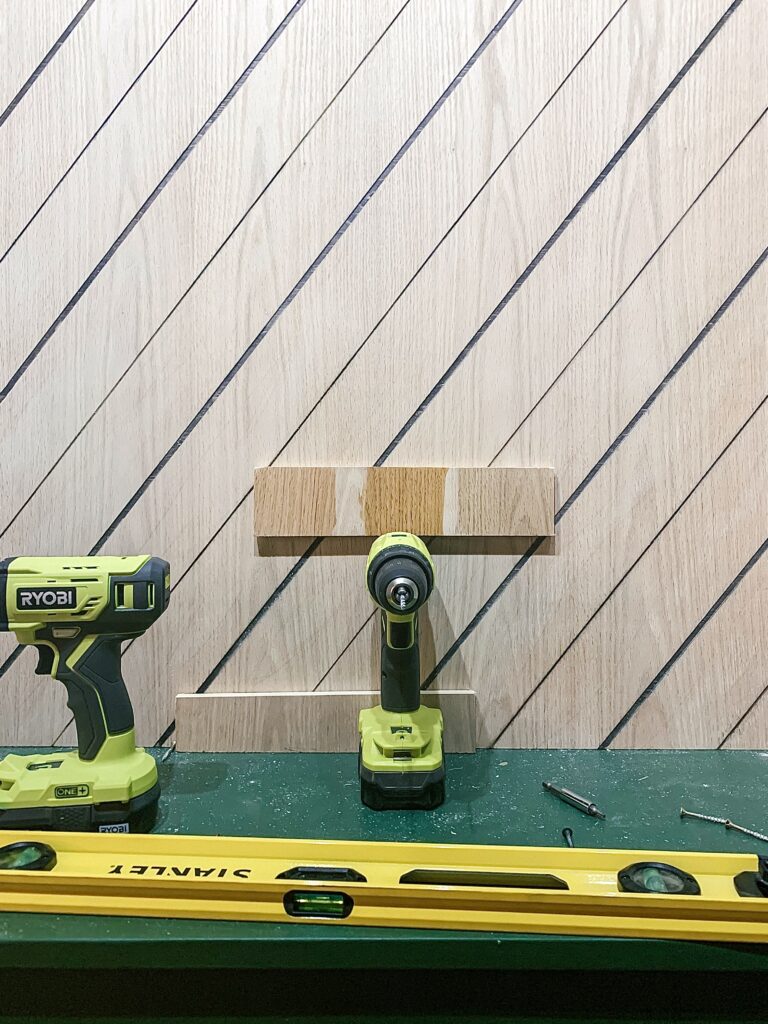
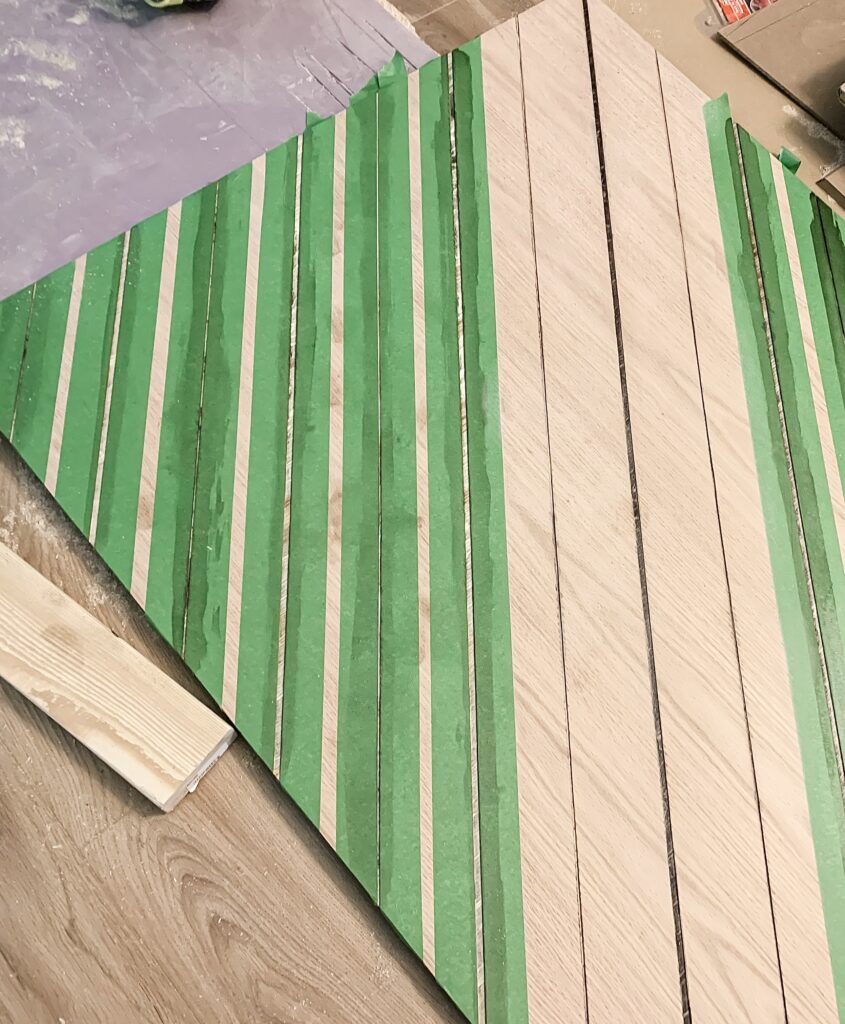
After I fit everything in the niche, I used spackle to fill out the nail holes and applied shellac as a protective coat to the plywood panel, testing a few options to see which finish works best. I used the same panelling on the side walls to unify the design.
The project took longer than I thought. Along with the hood fan, it’s been, on and off, about 3 weeks.
What a journey! How has this experience impacted your approach to design?
The journey continues! I’m still working on other home projects now, and planning to build some furniture eventually. It’s tough at the beginning but I do enjoy the whole process of making things on my own. There are lots of unexpected issues that arise once you start the building journey, however, I think it’s a very helpful exercise for an Interior Designer to get their hands on a building project. You gain invaluable, hands-on experience which are not encountered through the drawings.
 As the world adapts to this unprecedented situation, for the time being, keep your distance but don’t forget to stay social. Strengthen those bonds, communicate more and stick together. Your company culture will be tested but resiliency and relationships will get you through this period unscathed, or even stronger and more inspired.
Take care of each other, take care of yourself. Call three friends today, let’s stay connected.
– David, The HR Guy